How to Properly Winterize Your Sprinkler System
How to Properly Winterize Your Sprinkler System
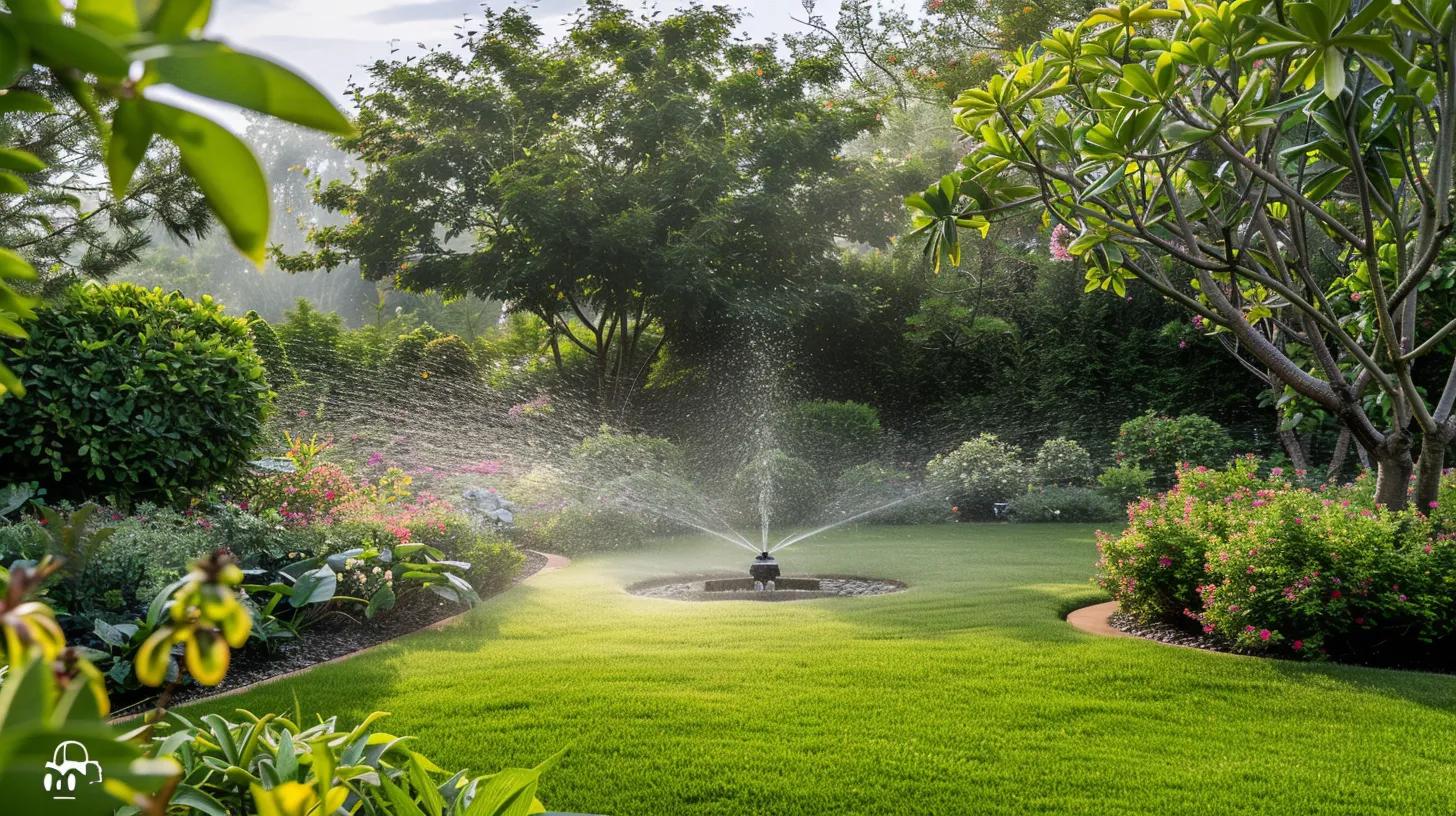
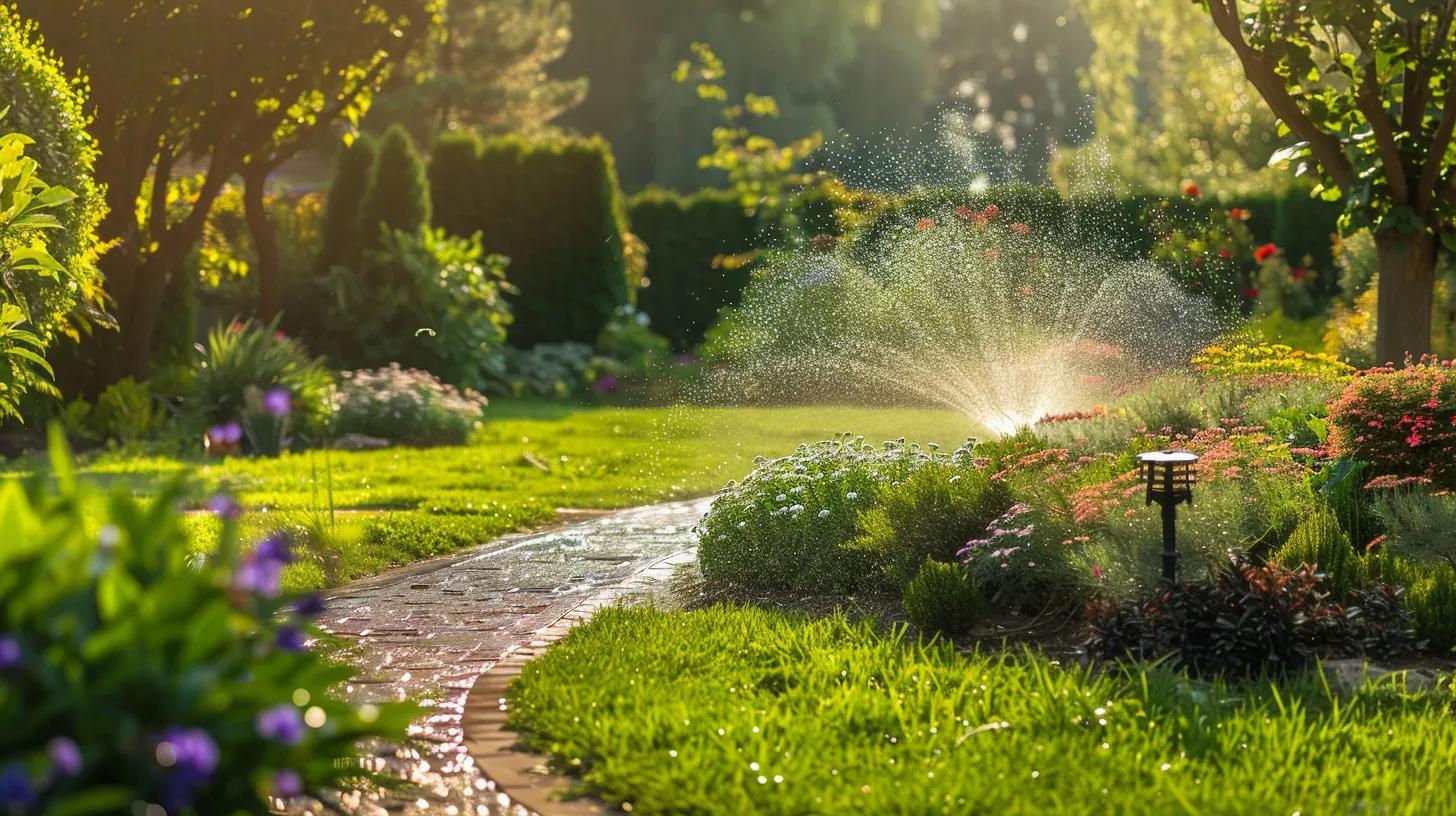
Winterizing a sprinkler system involves removing water and protecting components to prevent freezing temperatures from causing cracks, bursts, or costly damage. In Toronto’s climate, water left inside lateral lines, valves, heads, or a backflow preventer will expand as it freezes and can rupture plastic and metal components, creating expensive repairs and spring downtime. This guide explains what professional sprinkler winterization involves, why a zone-by-zone air compressor blowout is the preferred method in freezing climates, and how targeted inspections during winterization can save money by preventing spring emergencies. You will learn the step-by-step process professionals use, safe PSI guidance for blowouts, how backflow preventers are drained and insulated, realistic cost ranges tied to zone counts, and timing recommendations specific to Toronto and Ontario. Practical checklists, tables that break down tools and pricing, and concise answers to common homeowner questions are included, allowing you to decide whether to DIY or hire a certified contractor. Read on for clear, localized advice to prevent freeze damage and ensure your irrigation system comes back online reliably each spring.
Why Is Professional Sprinkler System Winterization Essential in Toronto?
Professional sprinkler system winterization is essential in Toronto because trained technicians remove trapped water and control pressure to prevent freeze-related expansion that fractures pipes and damages components. The mechanism is straightforward: water freezes, expands, and applies destructive force inside closed lines and fittings, and professionals use systematic methods—typically a zone-by-zone blowout paired with backflow protection—to eliminate pockets of water. The result is fewer burst laterals, protected backflow devices, and reduced risk of contamination or service interruptions come spring. Hiring a pro also introduces an inspection layer that finds worn valves, misaligned heads, and leaking fittings before they fail. Understanding these benefits clarifies why the small winterization fee often pales compared with repair or replacement costs after a freeze-induced break.
A.A. Waters & Brookes is a certified irrigation contractor serving Toronto and the GTA, offering comprehensive sprinkler services, including winterization performed by certified, factory-trained staff. Their Rain Bird Select Contractor status and combined team experience mean homeowners working with them receive industry-standard blowout procedures and focused inspections. For homeowners wanting professional protection from freeze damage, consider contacting A.A. Waters & Brookes and requesting a free estimate to compare the cost of prevention with potential repair bills.
What Are the Risks of Not Winterizing Your Sprinkler System?
Not winterizing a sprinkler system exposes pipes, valves, and fittings to freeze-thaw cycles that often cause cracked lateral lines, broken risers, and damaged valve manifolds. These failures commonly present as wet patches in spring, low or no pressure on startup, or visible cracks in PVC and polyethylene lines that require excavation and replacement. Repairs can involve lawn disruption, parts replacement, and multiple service visits—costs that typically exceed the price of a proper professional winterization. Preventing these outcomes starts with understanding that even small trapped water pockets in low spots or around backflow devices can cause disproportionate damage when they freeze. Recognizing these risks motivates timely winterization and informed decisions about hiring qualified technicians.
How Does Professional Winterization Prevent Costly Repairs?
Professional sprinkler system winterization prevents costly repairs by combining complete water extraction with component-level inspection and controlled pressure management. Technicians perform zone-by-zone blowouts so no section is over-pressurized, and they visually check valves, heads, and manifolds to spot hairline cracks or worn seals that would fail under freeze stress. This approach also uncovers existing minor leaks that, if repaired before winter, avoid enlarged problems in spring and streamline the spring startup. The added value is not just the removal of water but proactive repair recommendations and documentation, which gives homeowners clarity on system health and reduces the chance of emergency calls when temperatures rise. Understanding these preventive mechanics reveals how winterization is an investment in system longevity.
What Is the Step-by-Step Process to Winterize Your Sprinkler System Properly?
A correct professional sprinkler system winterization follows a predictable sequence: isolate the irrigation water supply, deactivate the controller, remove or bypass automatic fill devices, perform a controlled blowout of each zone, and protect backflow preventers and exposed components. The mechanism is deliberate: isolation prevents refilling, the blowout clears lines, and backflow protection prevents contamination and physical damage. Properly executed, the process leaves each zone dry, the controller safe from power surges or unwanted cycles, and above-ground devices insulated or drained for winter storage. These steps reduce freeze risk and make spring startup faster and more reliable.
Before the step-by-step list, here is a compact table summarizing typical steps, required tools, and key safety notes for homeowner reference.
How Do Professionals Shut Off the Water Supply and Deactivate Controllers?
Professionals begin by locating and closing the irrigation main shutoff—often found near the house, basement, or meter—and verifying isolation from the domestic water supply to prevent accidental refill during blowout. They also power down the controller, remove batteries, or set it to an off/hold position to avoid cyclic signals that could open valves during the blowout. Technicians commonly label valve positions and use a simple flow test to confirm zero supply pressure before connecting the compressor, ensuring safety and preventing cross-connection. These precautions preserve system integrity and set the stage for the controlled pressure work that follows.
Why Is the Air Compressor Blowout Method the Best for Complete Drainage?
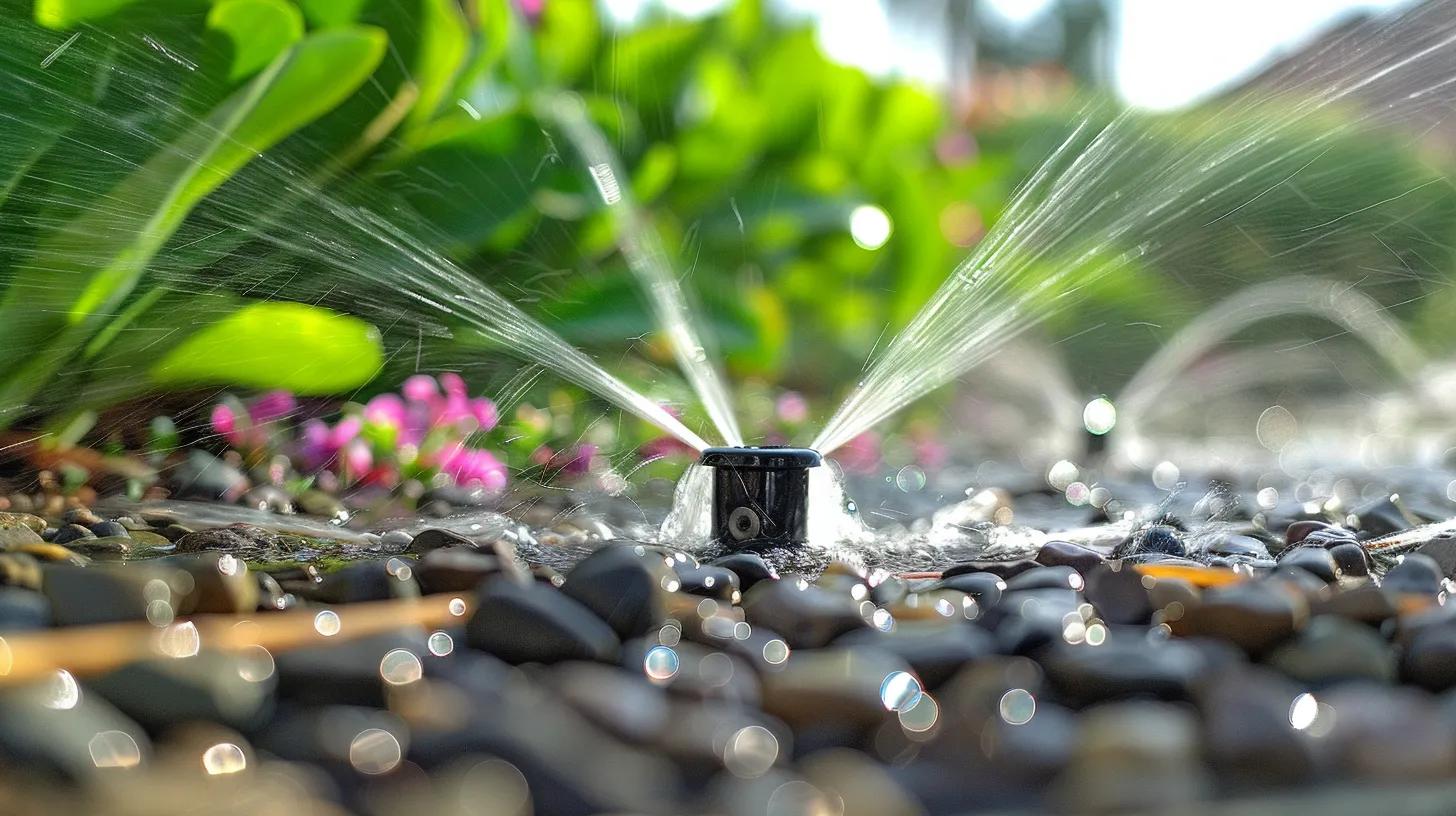
The air compressor blowout method forces compressed air through each irrigation zone to expel trapped water from lateral lines and sprinkler heads, which is far more reliable than gravity or manual drainage in cold climates. Professionals adjust and monitor PSI carefully because excessive pressure can damage PVC fittings, valves, or sprinkler heads, while too little pressure leaves residual water in low points. Typical safe working guidance for many residential systems ranges between 40–80 PSI at the irrigation manifold, but experienced technicians calibrate pressure per zone and component type. Proper technique and pressure control make the blowout the most effective method for preventing freeze damage and ensure components are not overstressed during the procedure.
How Are Backflow Preventers Protected and Insulated During Winterization?
Backflow preventers are treated as a distinct, high-priority component because failure can compromise potable water and lead to costly replacement. Professionals either drain and disable the device if the model allows, remove above-ground sections for indoor storage, or install robust insulating covers sealed with foam and weatherproof tape when removal isn’t feasible. The chosen method depends on device type, accessibility, and local regulations; technicians always confirm the selected approach complies with municipal requirements. Properly protecting the backflow preventer reduces contamination risk and expensive replacement, and it preserves the integrity of the potable water system through the winter months.
What System Inspections and Repairs Are Recommended After Winterization?
A professional winterization includes a short inspection checklist to identify items that should be addressed before winter sets in, such as leaking valves, cracked heads, misaligned nozzles, or corroded fittings. Technicians commonly recommend repairing or replacing worn seals, tightening loose risers, and straightening or replacing broken heads to prevent spring performance issues and reduce the need for emergency repairs. Documenting these findings with a brief report lets homeowners prioritize necessary spring repairs and budget accordingly. Addressing minor defects now reduces spring startup troubleshooting and helps the system run efficiently when it’s needed again.
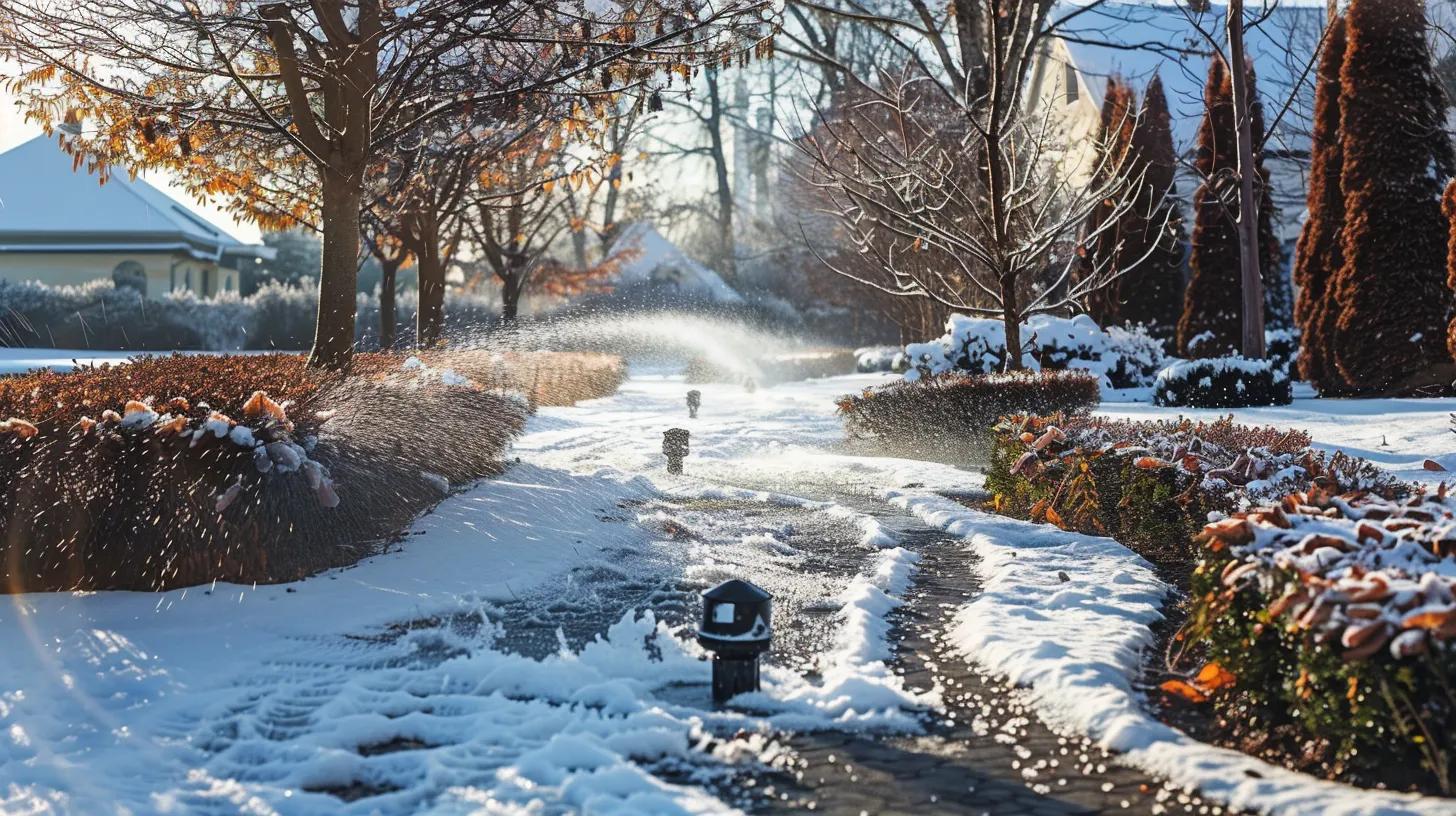
When Is the Best Time to Schedule Sprinkler Winterization in Toronto?
The best time to schedule sprinkler system winterization in Toronto is late September to mid-October, before the first hard frost arrives and overnight lows regularly dip below freezing. This window balances giving the lawn enough growing season to recover while ensuring the system is protected before freeze events begin; local weather variability requires homeowners to monitor forecasts and err on the earlier side if an early cold snap is predicted. Booking within this timeframe avoids the busiest peak weeks and reduces the risk of being forced to wait while freezing conditions arrive. Early scheduling also allows time for any recommended repairs to be completed before the system is taken offline.
Homeowners who prefer professional service should book early to secure preferred dates, especially during years with unpredictable early frosts, and should provide zone counts and a brief system description when requesting appointments. Early booking helps homeowners avoid last-minute rushes and guarantees technicians can perform inspection-driven winterization without cutting corners due to schedule pressure.
What Are the Optimal Dates for Winterizing Sprinkler Systems in Ontario?
Optimal dates for winterizing in Ontario typically fall between late September and mid-October, with the exact timing influenced by year-to-year weather patterns and microclimates across the GTA. This date range allows systems to be winterized after the main growing season but well before sustained freezing temperatures occur; monitoring local forecast trends in September helps homeowners pick an appointment date that avoids premature frost. High-elevation or exposed properties may require earlier service, while urban properties with heat retention can sometimes wait slightly longer. Selecting a date in the recommended window reduces the chance of freeze damage and keeps the system ready for spring.
Why Should You Book Early for Sprinkler Winterization Services?
Booking early secures technician availability during the busiest weeks and often gives homeowners more flexible scheduling and quicker response if additional repairs are identified. Demand for blowouts spikes in the recommended window, and late bookings can result in delays that leave systems vulnerable to early frosts. Early booking also gives time to obtain a clear estimate, collect system photos or zone counts requested by the contractor, and complete pre-winter repairs with less rush. Planning is a small effort that yields peace of mind and reduces the likelihood of emergency winter breakages.
- Early booking avoids schedule conflicts during peak weeks
- Early estimates allow time to plan and fund recommended repairs
- Early appointments reduce the chance of missing an early frost window
Booking early helps you secure service and ensures system health going into winter, which naturally leads to the next practical topic: cost.
What Factors Influence the Cost of Sprinkler Blowout Services?
Several clear factors influence blowout pricing: the number of irrigation zones determines time on site; the presence and accessibility of backflow preventers require additional steps; property layout and access complexity increase labor; and any repairs recommended during inspection add parts and time. Seasonal demand affects scheduling and availability, and urgent or after-hours requests may raise costs. Understanding these drivers helps homeowners provide the right information when requesting an estimate and explains why simple properties cost less than large, complex systems.
- Zone count and system size affect labor time
- Backflow preventers add time and may require specific protection steps
- Access issues or landscape obstacles can increase labor and cost
With these factors in mind, the next paragraph explains how to get a precise, no-obligation estimate.
How Can You Get a Free Estimate for Sprinkler Winterization?
To get a free estimate, provide the contractor with your property location, number of irrigation zones, and whether a backflow preventer is present or visible, plus clear photos of the controller and manifold if possible. Most certified contractors will respond with a time window for an on-site visit or a remote estimate based on the information provided, and they will outline what the quoted service includes. When requesting a quote, ask whether the price covers blowout, backflow protection, insulation, and documentation of recommended repairs. For homeowners in Toronto and the GTA seeking professional sprinkler system winterization, A.A. Waters & Brookes offers estimates through their service process; request a free estimate to compare options and avoid winter risk.
Why Choose A.A. Waters & Brookes for Your Sprinkler Winterization Needs in Toronto?
A.A. Waters & Brookes is a certified irrigation contractor and Rain Bird Select Contractor serving Toronto and the GTA, offering winterization among a full suite of sprinkler services, including installation, spring startup, repairs, and maintenance. Their team is described as certified and factory-trained, bringing combined experience that helps them perform blowouts, backflow protection, and inspections with manufacturer-recommended practices. Choosing a certified sprinkler system contractor with these credentials translates into reliable procedures, attentive inspections that catch weak points before winter, and the confidence that technician techniques align with industry standards. Homeowners seeking an estimate or scheduling can contact the company and request a free estimate to compare detailed quotes and service inclusions.
What Certifications and Experience Do Our Technicians Have?
The company advertises certified, factory-trained staff and a combined team experience that supports thorough, consistent winterization work and related irrigation services. Being a Rain Bird Select Contractor indicates manufacturer-aligned practices and access to training resources, which technicians apply when performing blowouts, calibrating PSI, and protecting backflow devices. These credentials are relevant because they reduce the likelihood of procedural errors and make it more likely that winterization follows manufacturer guidance, protecting components and reducing post-winter repairs. This alignment between training and technique is what homeowners often seek when deciding between DIY and professional service.
How Does Our Service Ensure Freeze Damage Prevention and System Longevity?
A.A. Waters & Brookes’ winterization service combines a zone-by-zone blowout, backflow protection, or insulation, and a focused inspection that targets common failure points—this process reduces trapped water and identifies components that should be repaired before winter. By coupling proper technique with factory-trained execution and manufacturer-recommended practices, the service aims to prevent freeze damage and extend system life, minimizing spring surprises. Documentation and repair recommendations provided at service completion help homeowners prioritize spring work and maintain efficient system performance year to year, which supports long-term value and lower lifecycle costs.
- Control pressure precisely to avoid component stress and failure
- Inspect and repair minor defects now to avoid costly springwork
- Protect backflow devices to preserve potable water safety and component integrity.
These measures illustrate how professional winterization both prevents immediate freeze damage and contributes to system longevity through careful execution and targeted repairs.
What Are the Most Common Questions About Sprinkler Winterization?
Homeowners frequently ask whether they can DIY winterization, what PSI to use for blowouts, and what happens if winterization is skipped; concise answers help guide safe decisions. The next section presents direct responses to these common concerns and a compact decision table that shows when to call a professional and the risk level associated with each scenario.
Can I Winterize My Sprinkler System Myself, or Should I Hire a Professional?
You can perform some winterization tasks yourself—like shutting off the irrigation supply and turning the controller to OFF—but professional blowouts are recommended in freezing climates because they require calibrated compressors, PSI gauges, and experience to avoid damaging components. DIY blowouts without pressure control or incorrect sequencing risk leaving pockets of water or over-pressurizing laterals and heads, which can be more costly than the winterization service itself. If you choose to DIY, follow manufacturer guidance, confirm isolation from domestic water, and use conservative pressures; otherwise, hire a certified contractor to reduce risk and preserve warranties. The balanced approach is to attempt simple steps only if you have the right tools and call a pro for the blowout and backflow protection.
How Much PSI Is Needed to Blow Out Sprinkler Systems Safely?
Safe PSI varies by system components and line material, but many residential systems are successfully blown out at manifold pressures between 40 and 80 PSI, with technicians reducing pressure on older PVC, small-diameter laterals, or delicate emitters. Professionals calibrate pressures per zone, monitor for signs of stress, and use pressure gauges and regulators to avoid spikes that can rupture fittings or dislodge heads. Over-pressurizing is a common DIY error—excess pressure can lead to immediate damage—so when in doubt, use a professional who can match PSI to component ratings. Proper PSI control protects system integrity and is a central reason professionals are recommended for blowouts.
What Happens If You Don’t Winterize Your Sprinkler System Properly?
If a sprinkler system isn’t winterized properly, trapped water can freeze and expand, causing cracked lateral lines, broken heads, damaged manifolds, or a failed backflow preventer; the effects show up as leaks, loss of pressure, and the need for excavation and part replacement in spring. Repair costs vary, but they often include labor for trenching, replacement pipe or fittings, and repeated service calls—expenses typically exceeding the cost of a professional winterization. Additionally, improper winterization can void warranty coverage on some components and increase spring startup downtime. The clear takeaway is that proper winter protection prevents physical damage and financial and operational headaches.
To get answers to all your questions or to get your No Cost, No Obligation, Easy-to-Understand Estimate, please contact us today!